Behind the scenes of creating our new animated video
April 07, 2026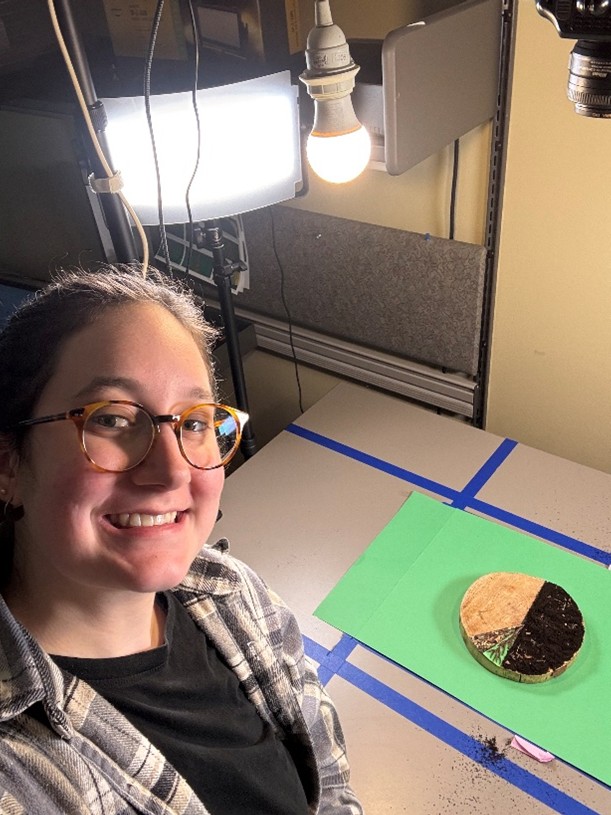
Over the past few months, I’ve been working on an educational animated video about the distribution of carbon in forests. I created the short one-minute video using stop-motion animation, a skill I learned while in college.
Stop-motion animation is a tedious art form that requires a lot of patience because it involves taking a photo, moving an object slightly within the frame, taking another photo, and repeating this process as necessary. Doing this roughly 12-24 times creates about one second of animation.
Stop-motion animation can use many different mediums, including clay, collage, puppetry — like in the animated movie Coraline and other films created by the Portland-based LAIKA Studios — and even paper. I studied stop-motion animation at the Pacific Northwest College of Art and had a lot of fun filming this animated short. I created this animation using primarily paper, along with a few other materials.
With the theme of “invisible forestry” — forest processes that are hard to observe directly, such as photosynthesis and carbon distribution — and the goal of teaching about carbon within forests, I started writing a script with the help of OFRI Director of Communications Jordan Benner and Inka Bajandas, OFRI’s public affairs manager. After the script was written, I started sketching storyboards and recording narration for an animatic, which is a rough-draft video with sound and edited storyboards that animators use as a reference while animating.
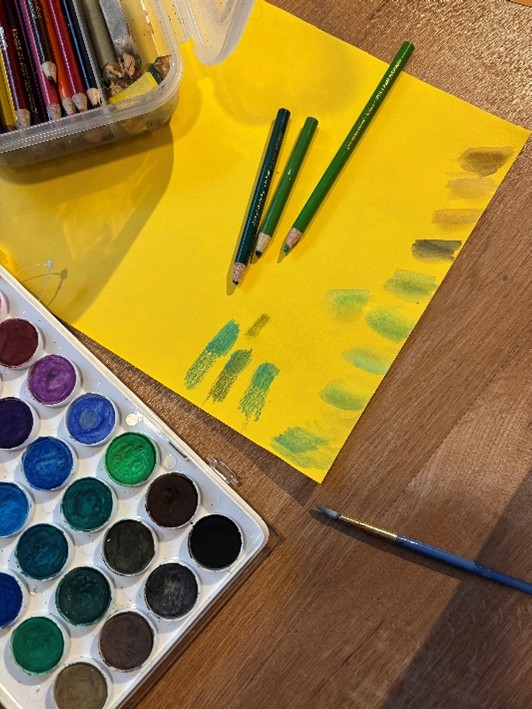
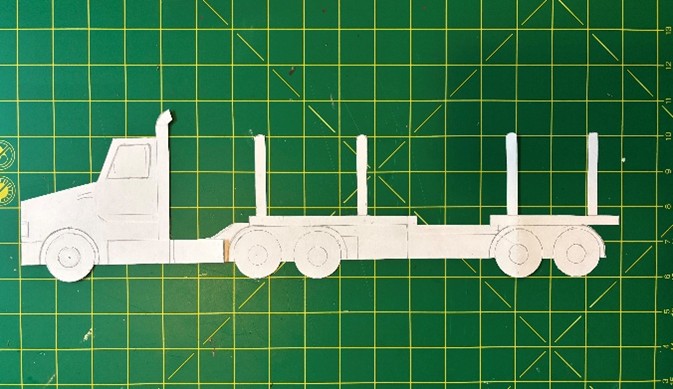
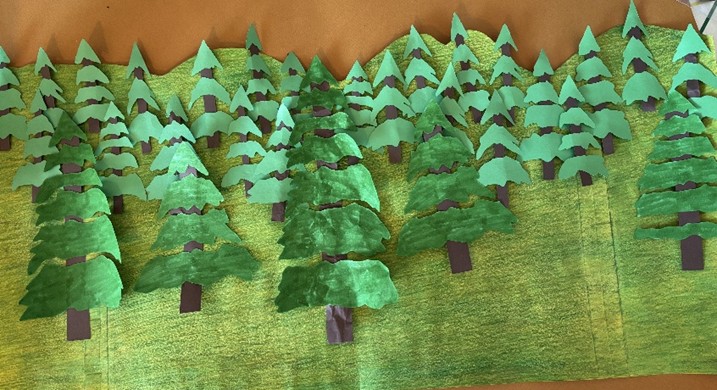
Once the narrative was set with a finalized script, storyboards, voice recording and animatic, it was time to draw on paper. I used various materials, including watercolor paint and colored pencils, to create the paper mountains, trees and deer seen in the animation’s opening sequence. Recreating an Oregon forest with paper meant there had to be wildlife, soil, pinecones, green trees, blue skies and logging roads. I tried to recreate the realities of Oregon’s forests in stylized layers. After coloring several pieces of paper with colored pencils and cutting out several trees, it was time to set the stage.
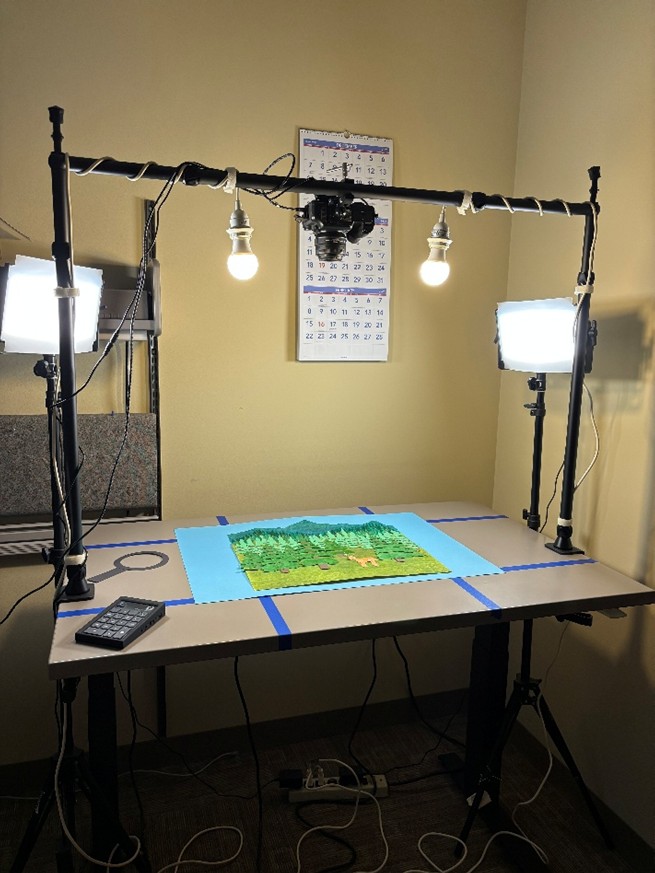
The stage for animating the paper forest, as seen below, consisted of an overhead camera to take photos of the sets I built. Because stop-motion animation requires controlled lighting to minimize flickering photos, I animated in an office with the window blinds and door closed and used studio lights to illuminate the set. Taking one photo at a time, I animated what forest carbon distribution looks like, with red dots representing the carbon molecules, making one aspect of invisible forestry visible.
After animating nearly 600 frames of the three paper sets, I’m happy to share the final animation! See what I animated and what forest carbon distribution looks like by watching the video on our YouTube channel.
Emma Knapton
Social Media Intern